Train. Build. Reclaim.

Default Blog Post

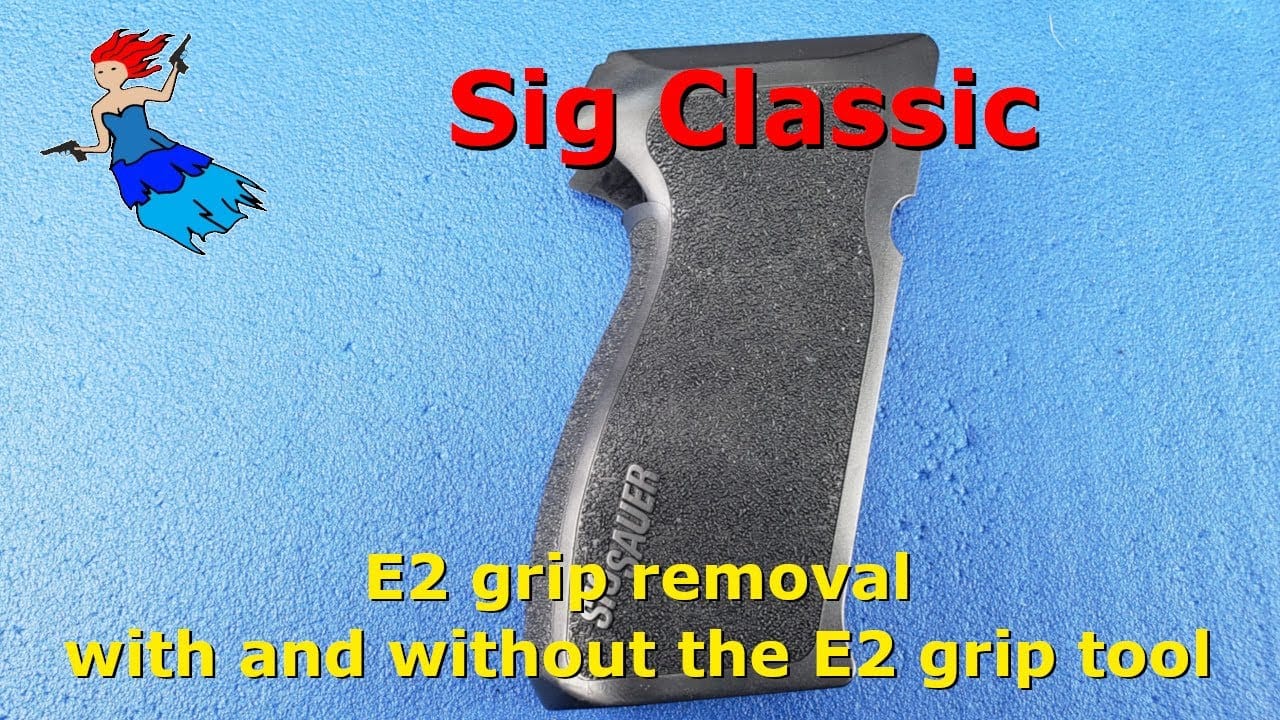
Sig Classic // E2 Grip Removal and install with and without the E2 grip tool (Sig P226 E2, Sig P229

This page may contain affiliate links. If you click and buy, I may earn a small commission at no extra cost to you. Your purchase using affiliate links helps support the creation of independent content.

This is an updated version of our Sig E2 Grip Removal and Install Video which walks you through the removal and install of the E2 grip on the Sig Classic line of pistols. We also walk you through some tricks we use to make the removal and install easier. In this video we show you how to remove the grips using the E2 grip removal tool, as well as, how to remove them if you don’t have the tool.

Although I show you this process on a Sig P220 E2 this will also work on a Sig P229 E2 and a Sig P226 E2 as well.

The Sig Classic Line of pistols includes the following models:

Sig Sauer P220, P224, P225, P226, P227, P228, P229, P239, M11, and the P6

If you find our videos helpful please consider supporting us for free by using our affiliate banners and links on www.trb.fyi or by donating by becoming a Patron on Patreon http://www.patreon.com/TheRogueBanshee. Your support helps us continue providing high-quality content.

Check out all of my sig Classic videos in this play list https://youtube.com/playlist?list=PLLlRzRtKJRqP6xJsOScsWR6CD-BIBCnbr

For the tools that we used on the Sig Classic videos visit https://testing.trb.fyi/tools-used-in-the-sig-classic-series-videos/ and visit our troubleshooting guides at https://testing.trb.fyi/troubleshooting/

Video Index: 
Intro – 0:00
Checking for an unloaded firearm – 0:15
Removing the E2 Grip with the E2 Grip Tool – 0:47 
Removing the E2 Grip without the E2 Grip Tool – 2:15 
Installing the E2 Grip – 3:43

——-
Social Media
Website
https://testing.trb.fyi

Instagram
https://www.instagram.com/theroguebanshee

Facebook
https://www.facebook.com/TheRogueBanshee
——-

——-
Gear that I run

Computer
https://www.amazon.com/shop/theroguebanshee?listId=28W3UO8YXBKY3

Studio
https://www.amazon.com/shop/theroguebanshee?listId=2LISYK2A6DTTC

Camera and Mic
https://www.amazon.com/shop/theroguebanshee?listId=24PJH5W612YLL

My 3d Printer setup
https://www.amazon.com/shop/theroguebanshee?listId=1UL6S39TFWX53
——-

——-
Credits
The Rogue Banshee Original Content
Credit: Jason Schaller
jschaller@trb.fyi
——-

The products (videos, articles, pictures. etc.) available through The Rogue Banshee (including gear, tools, products, etc. that are featured, seen or used) are for informational and entertainment purposes only. All activities are completed in accordance with all local, state and federal regulations, as well as in a safe manner in approved locations with professional supervision.

Affiliate Disclaimer: In accordance with the rules and regulations set by the FTC, The Rogue Banshee is an affiliate marketer for several companies.

source

Related Guides

Image featuring a Dan Wesson 44 Magnum Deep Cleaning

Deep Cleaning

How to Deep Clean a Dan Wesson 44 Revolver

Complete step-by-step guide to deep clean a Dan Wesson .44 Magnum revolver. Covers disassembly, ultrasonic cleaning, barrel-to-cylinder gap measurement with 0.006 inch feeler gauge, and full reassembly with video timestamps and verified tool list.

Building independence featured image with workbench, tools, notebook, and text: “What will you build before September ends?”

Blog

Building Independence Starts Now – Are You Ready?

September is Build Month. It’s about building independence with one mission you can’t quit—a firearm project, a training habit, a side hustle, or personal discipline. No more excuses. Pick your build, finish it, and prove you’re not owned by comfort.

Join The Rogue Nation!

Stay in the Loop with Real-World Gun Maintenance

No spam. Just proven firearm maintenance tips, gear reviews, and DIY builds, straight from a former gunsmith and 2A educator.

You’ll get:

DIY gunsmithing insights backed by experience

Behind-the-scenes builds from The Rogue Banshee

First access to new disassembly & troubleshooting guides

Tools and fixes that actually work

Support & Resources:

Love what I do here? Here's how to support the mission and gear up::

Shop Tools & Parts: trb.fyi/az
TRB Merch: trb.fyi/merch
YouTube Members Perks: trb.fyi/ytmembers
All Resources in One Place: link.trb.fyi

Credits and Socials:

Connect with Me:

Follow for tools, tips, and teardown walk-throughs:

Instagram – Behind-the-scenes shop content
Facebook – Community posts & guide drops
Twitter – Quick rants, 2A news, and hot takes
Website – Full archive of all TRB content

Credits:

Original Content by The Rogue Banshee / My Rogue Solutions LLC.
Credit: Jason Schaller
Email: jschaller@trb.fyi

About the Author: Jason Schaller is a former FFL holder and founder of Eagle Eye Shooters Supply in Helena, MT, where he provided professional gunsmithing services and guided customers on all aspects of firearms ownership. Today, he teaches DIY gunsmithing at The Rogue Banshee and serves as a Chief Instructor at Freedom Crew University. With over a decade of hands-on professional experience with firearms and nearly 30 years in IT, Jason also holds top cybersecurity certifications including CISSP, CISA, and CRISC. When he’s not geeking out, he’s helping others build self-reliance, critical thinking, and firearms proficiency through real-world content.

Disclaimers:

Content Use & Compliance

The videos, articles, and images shared by The Rogue Banshee feature gear, tools, and products for informational and entertainment purposes only. All activities follow local, state, and federal laws where they were conducted in. All activities are conducted safely under professional supervision in approved locations.

Affiliate Disclaimer

Some links are affiliate-based. No extra cost to you, but they help support the work we do her when you purchase though them. Best of all, you support the content you want to see, hear and read with nothing out of your pocket.

Firearm Safety Notice

I promote safe and responsible firearm ownership. All activities are conducted in a controlled, professional environment.